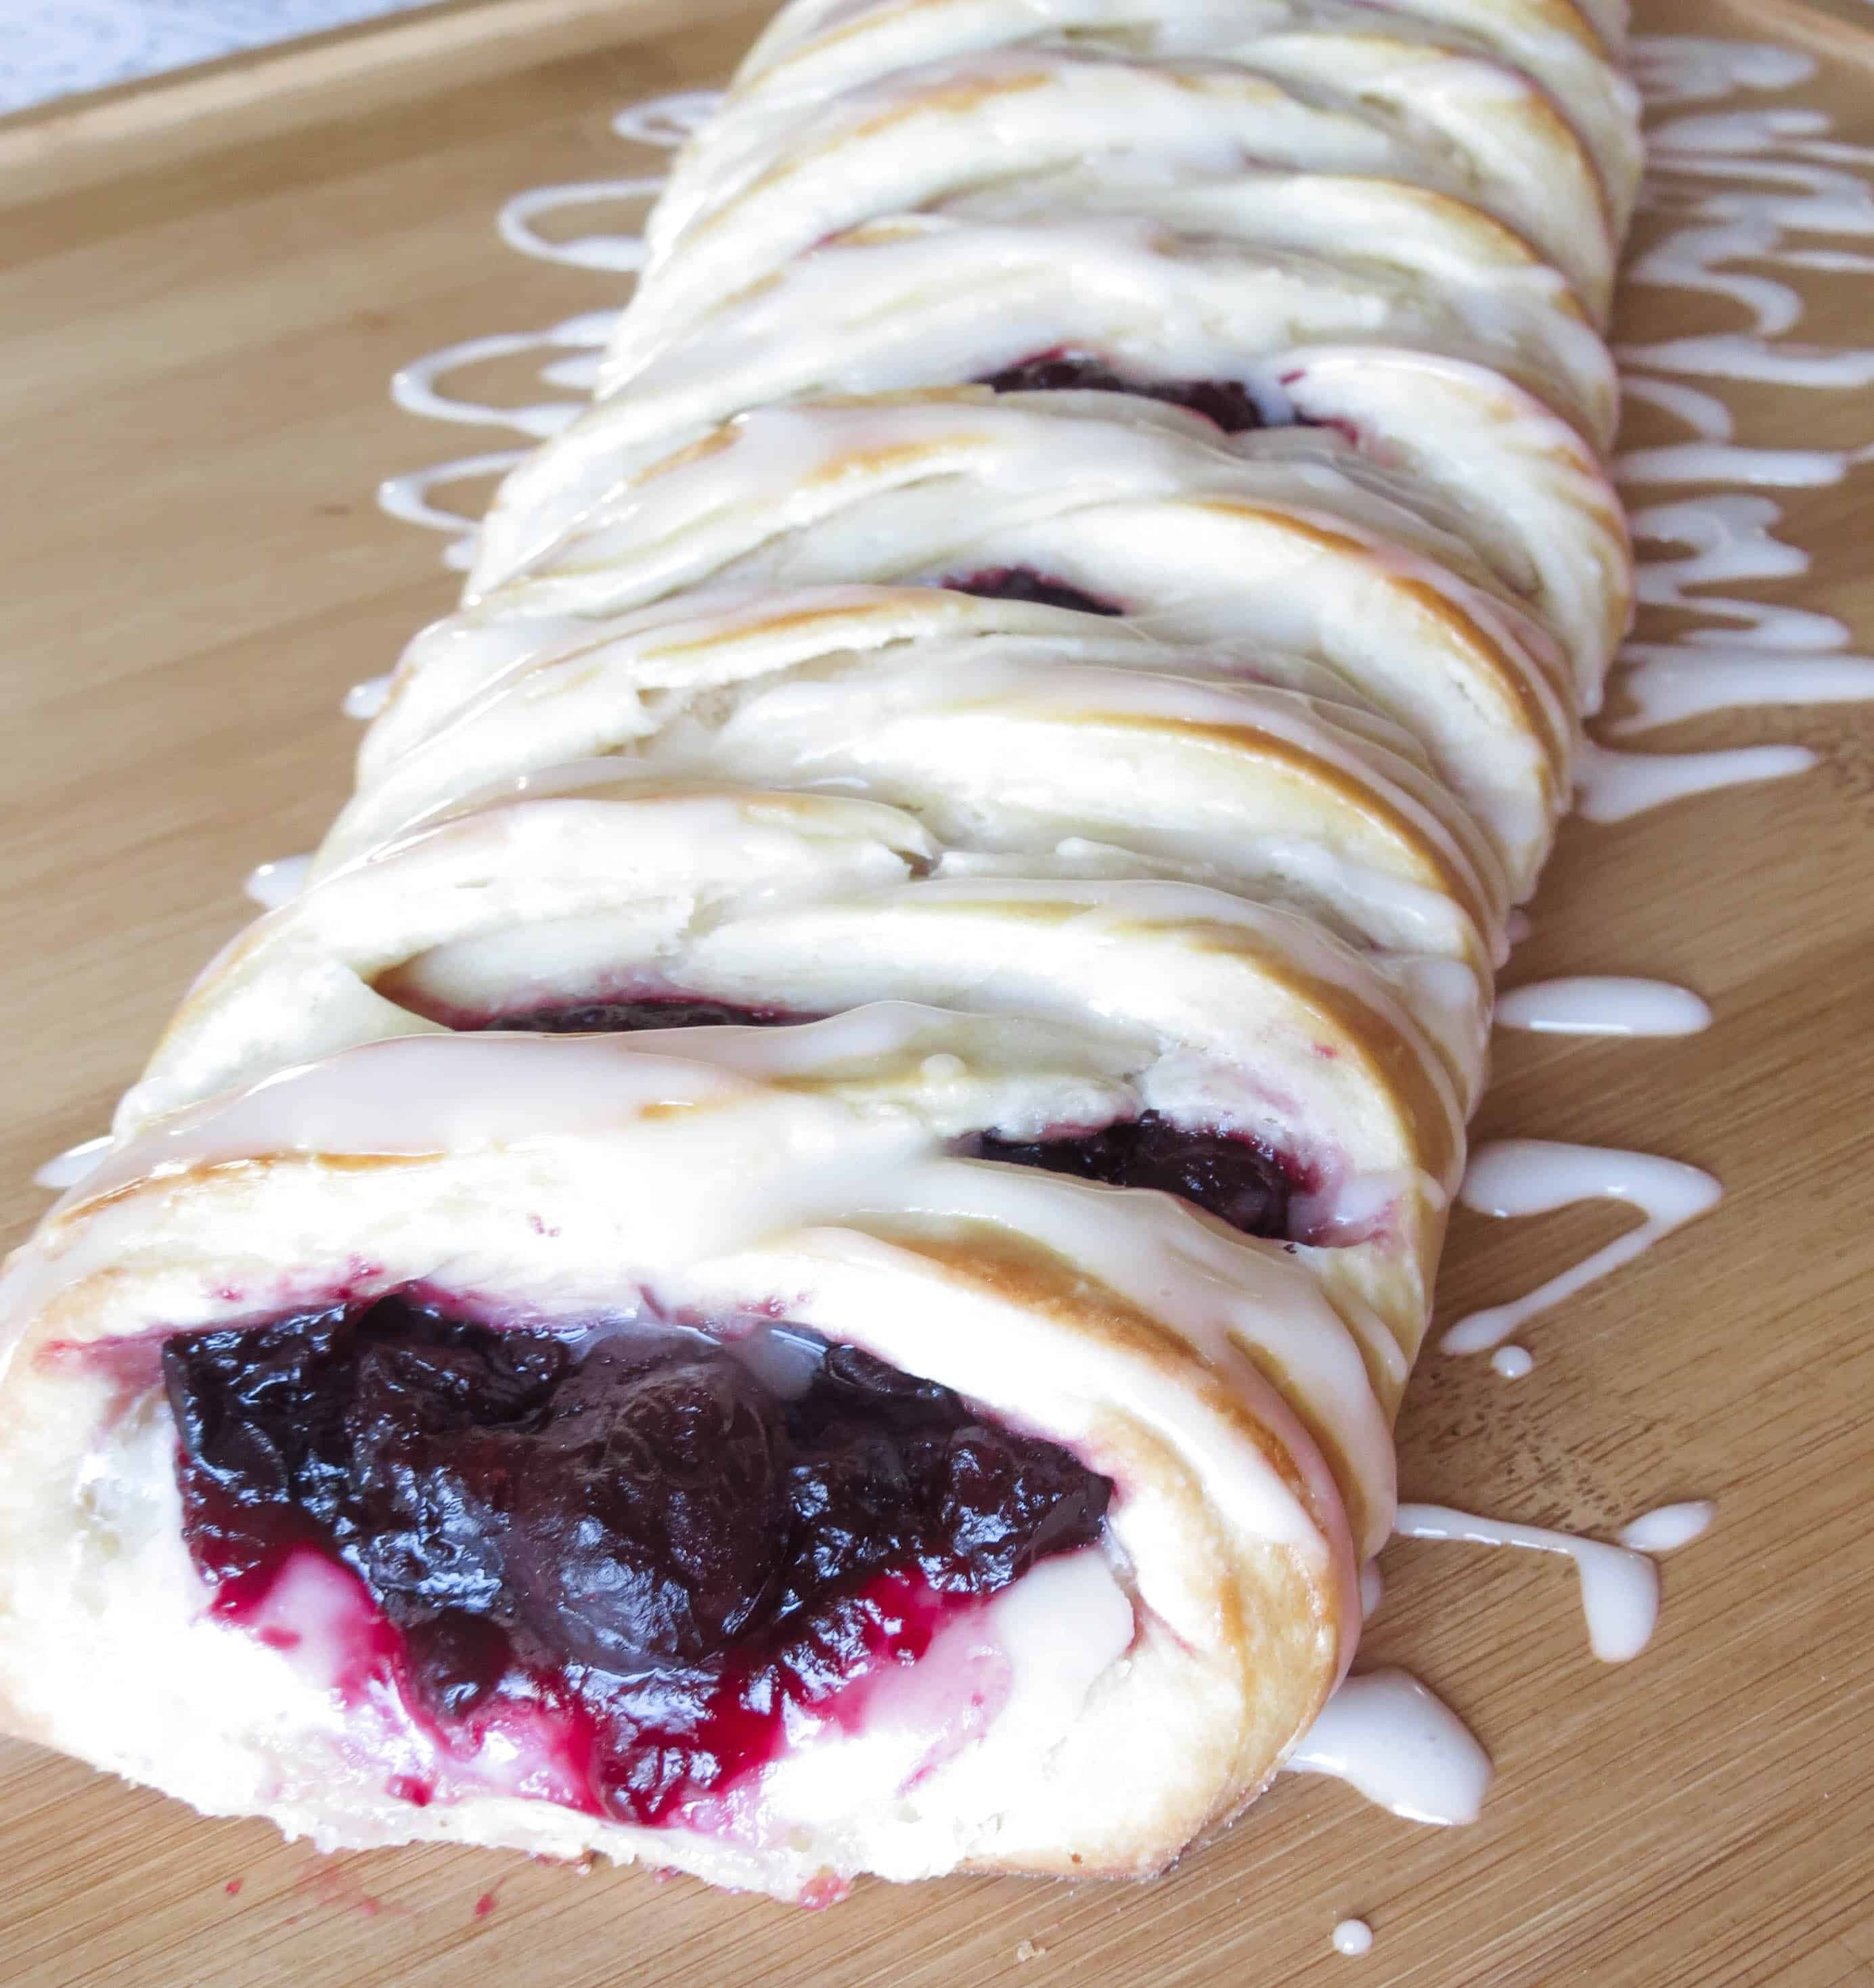
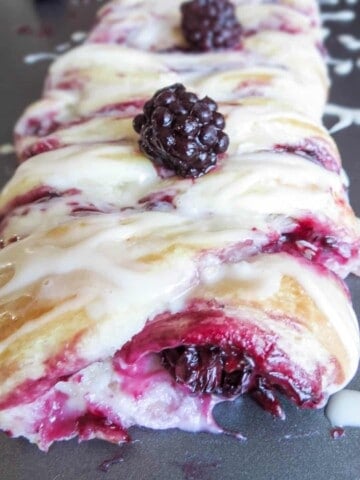
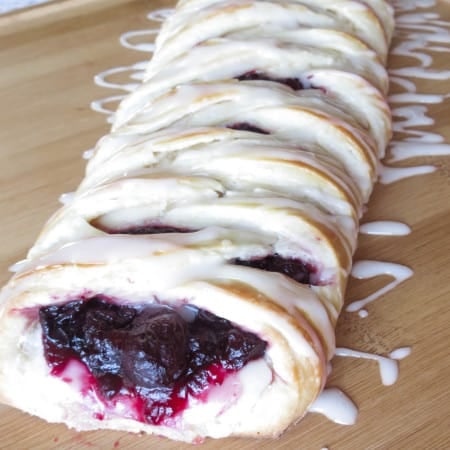
This Cherry Cheese Danish Braid has a homemade flaky pastry dough and is filled with a gooey cherry cream cheese filling and topped with a sweet vanilla glaze.
Happy first day of Spring everybody! Cherries are my favorite so I decided to post this recipe today to celebrate! The homemade cherry preserves paired with the sweetened cream cheese mixture is the most wonderful combination. If you don't like cherries, feel free to use a different berry in its place when you make the preserves.
I used the same delicious puff pastry dough I always use, like in my recipe for buffalo pinwheels. It comes out perfectly crisp and buttery every time whether you are making sweet or savory recipes. If you follow the directions step-by-step, it is pretty straight-forward! The recipe makes enough for 2 braids, so just save the extra half in the freezer when you have a pastry emergency.
Braiding these danishes looks so much harder than it really is. You essentially just cover each side back and forth on top of each other, making it look like a faux braid when it's done. This dessert is a sure way to trick your friends and family into thinking you spent lots of time working on it!
Jump to:
Why you'll love this recipe
- These danish braids look intricate and fancy. Perfect addition to a shower or brunch party! Cut them up into little slices and serve.
Ingredients
Pastry Dough
- Warm water
- Active dry yeast
- Whole milk
- Egg
- Granulated sugar
- Salt
- All-purpose flour
- Unsalted butter
Dough Tip
- The buttery homemade pastry dough is really worth the extra step of making because it truly melts in your mouth. While I love making it from scratch, sometimes you just don't have the time. Skip making the dough and use store-bought puff pastry dough instead. You will need two sheets since this recipe makes enough filling for 2 danishes
- Roll your dough out and fill it on the parchment lined pan you are going to bake it on because it is very hard to transfer it to the pan!
Cherry Preserves
- Cherries: frozen (not thawed)
- Granulated sugar
- Corn starch
- Water
Berry Preserves Tip
- Substitute 1 cup of store-bought cherry preserves if you do not want to make it from scratch. Use ½ cup for each Danish braid filling.
Cream Cheese Filling
- Cream cheese
- Granulated sugar
- Vanilla extract
- Sour cream
- Powdered sugar
- Unsalted butter
Glaze
- Powdered sugar
- Vanilla extract
- Cream or milk
Jessica's Recipe Tips
- Roll your dough out and fill it on the parchment lined pan you are going to bake it on because it is so hard to transfer it to the pan!
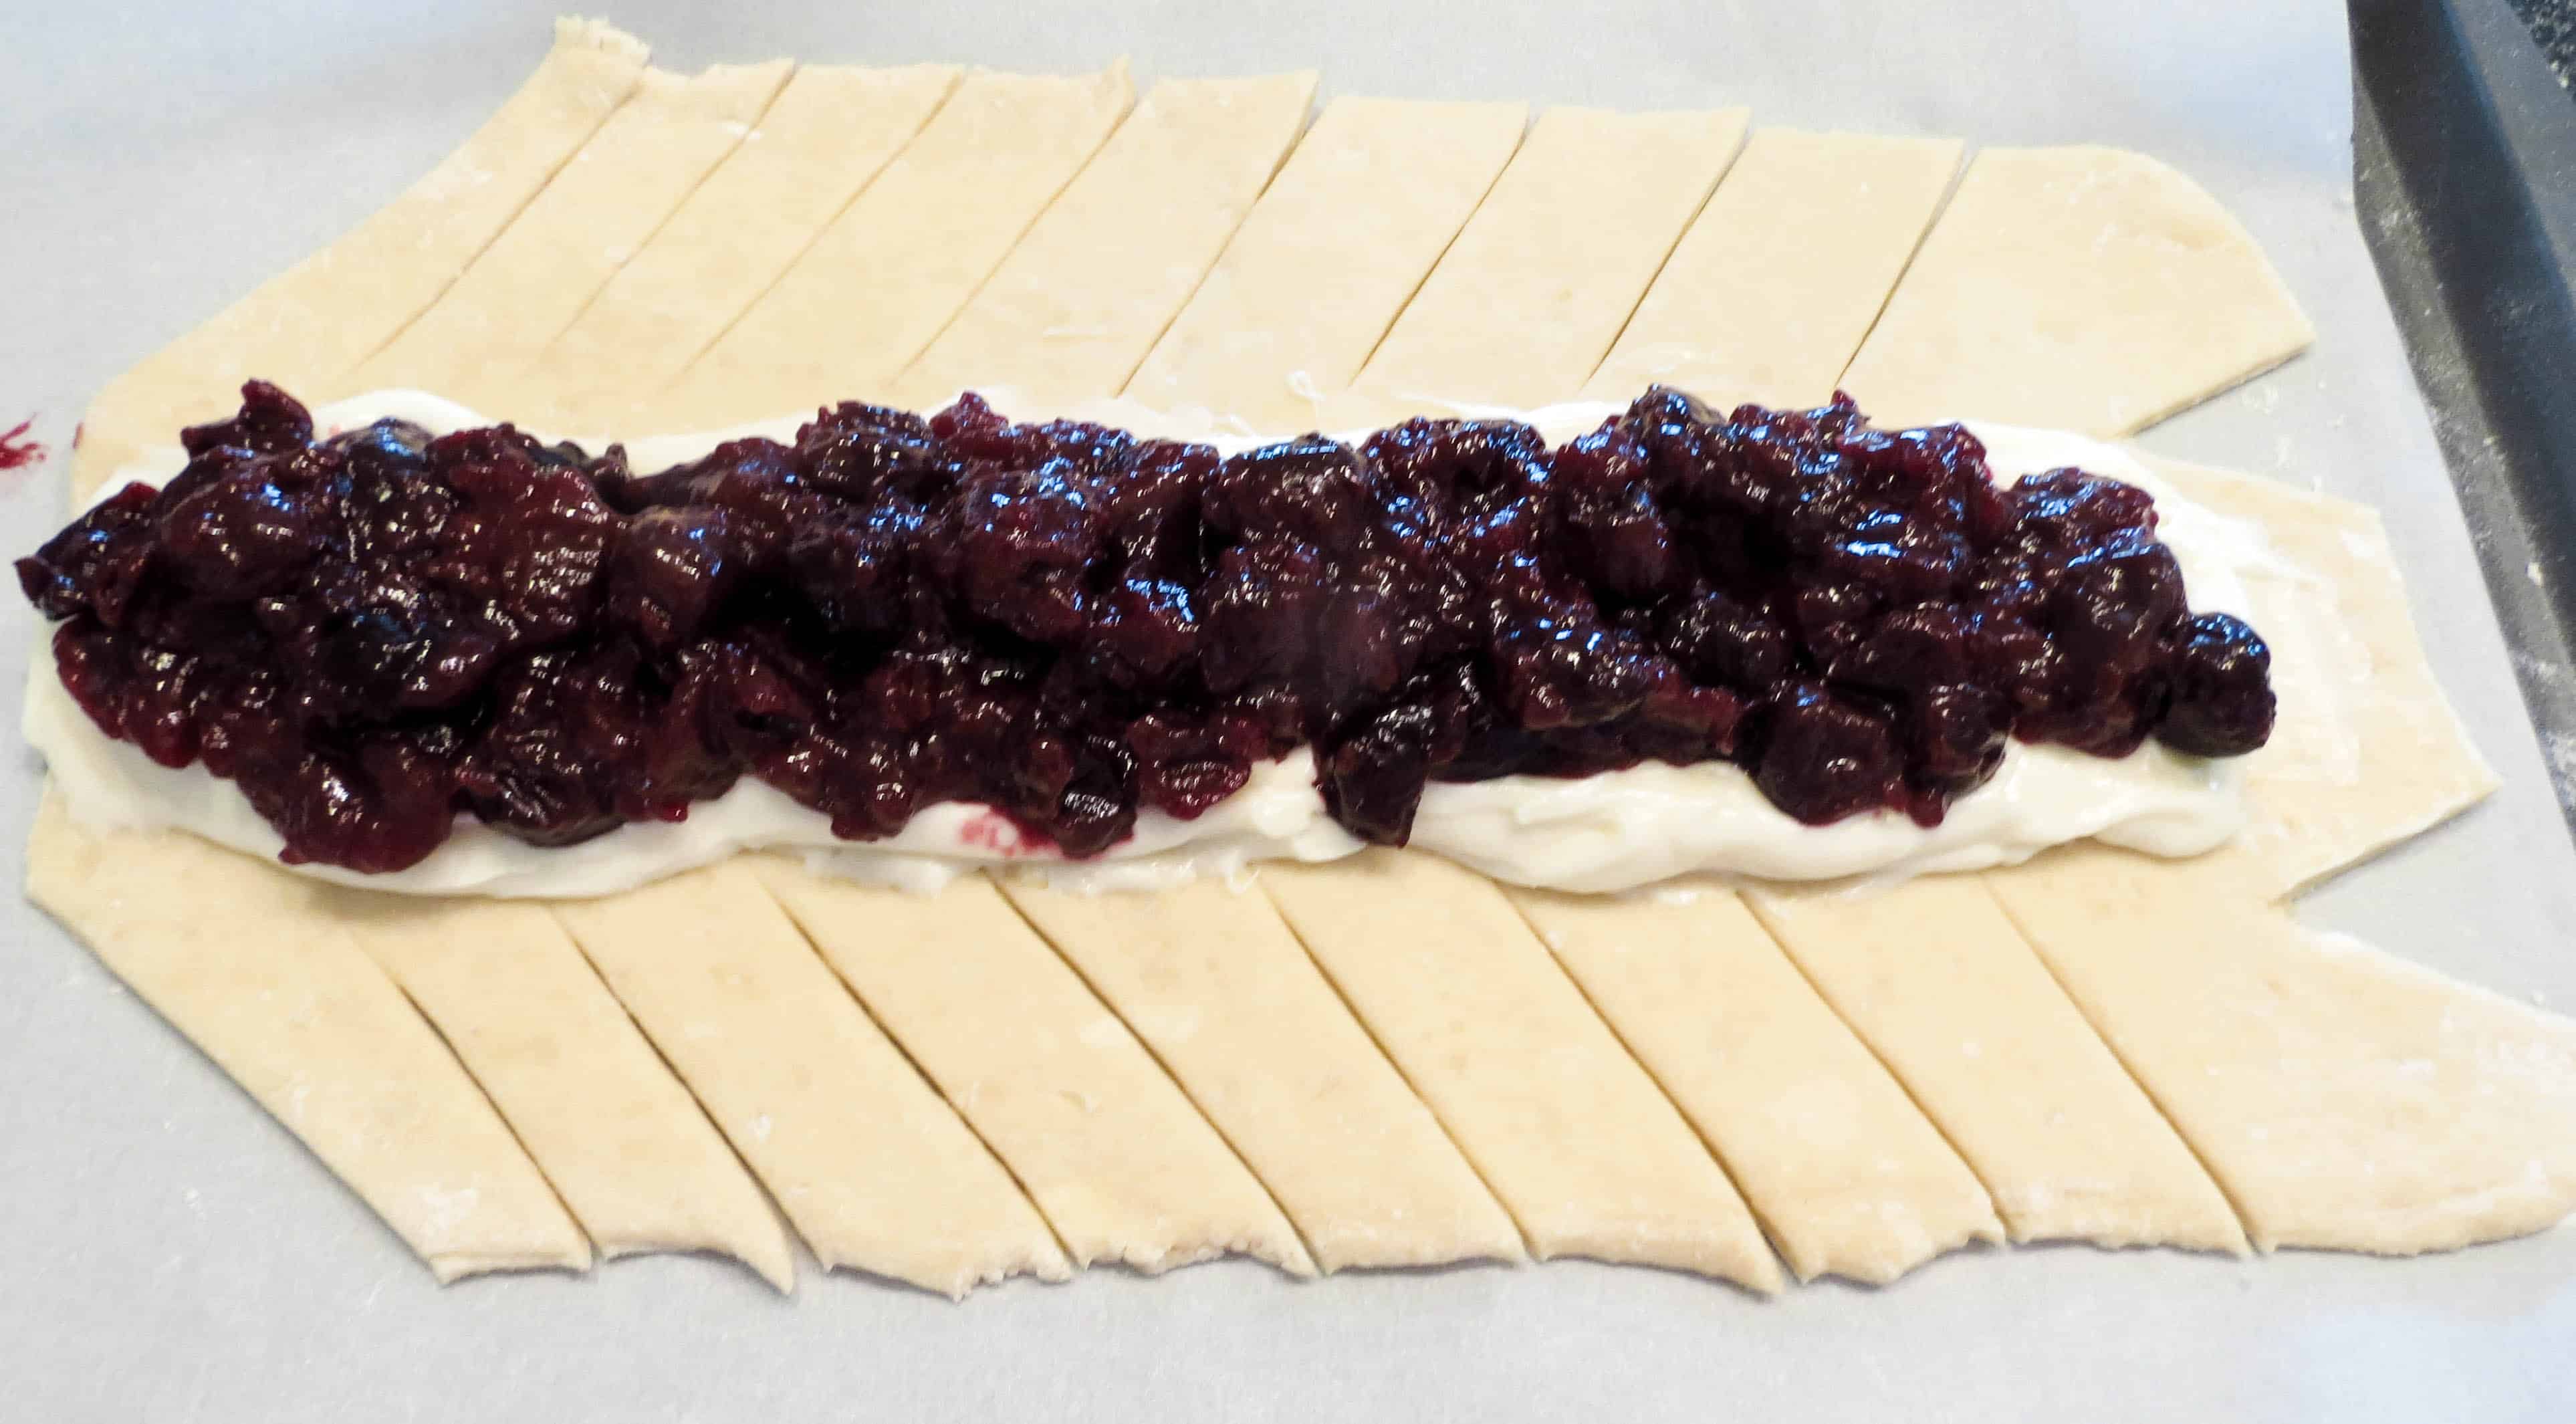
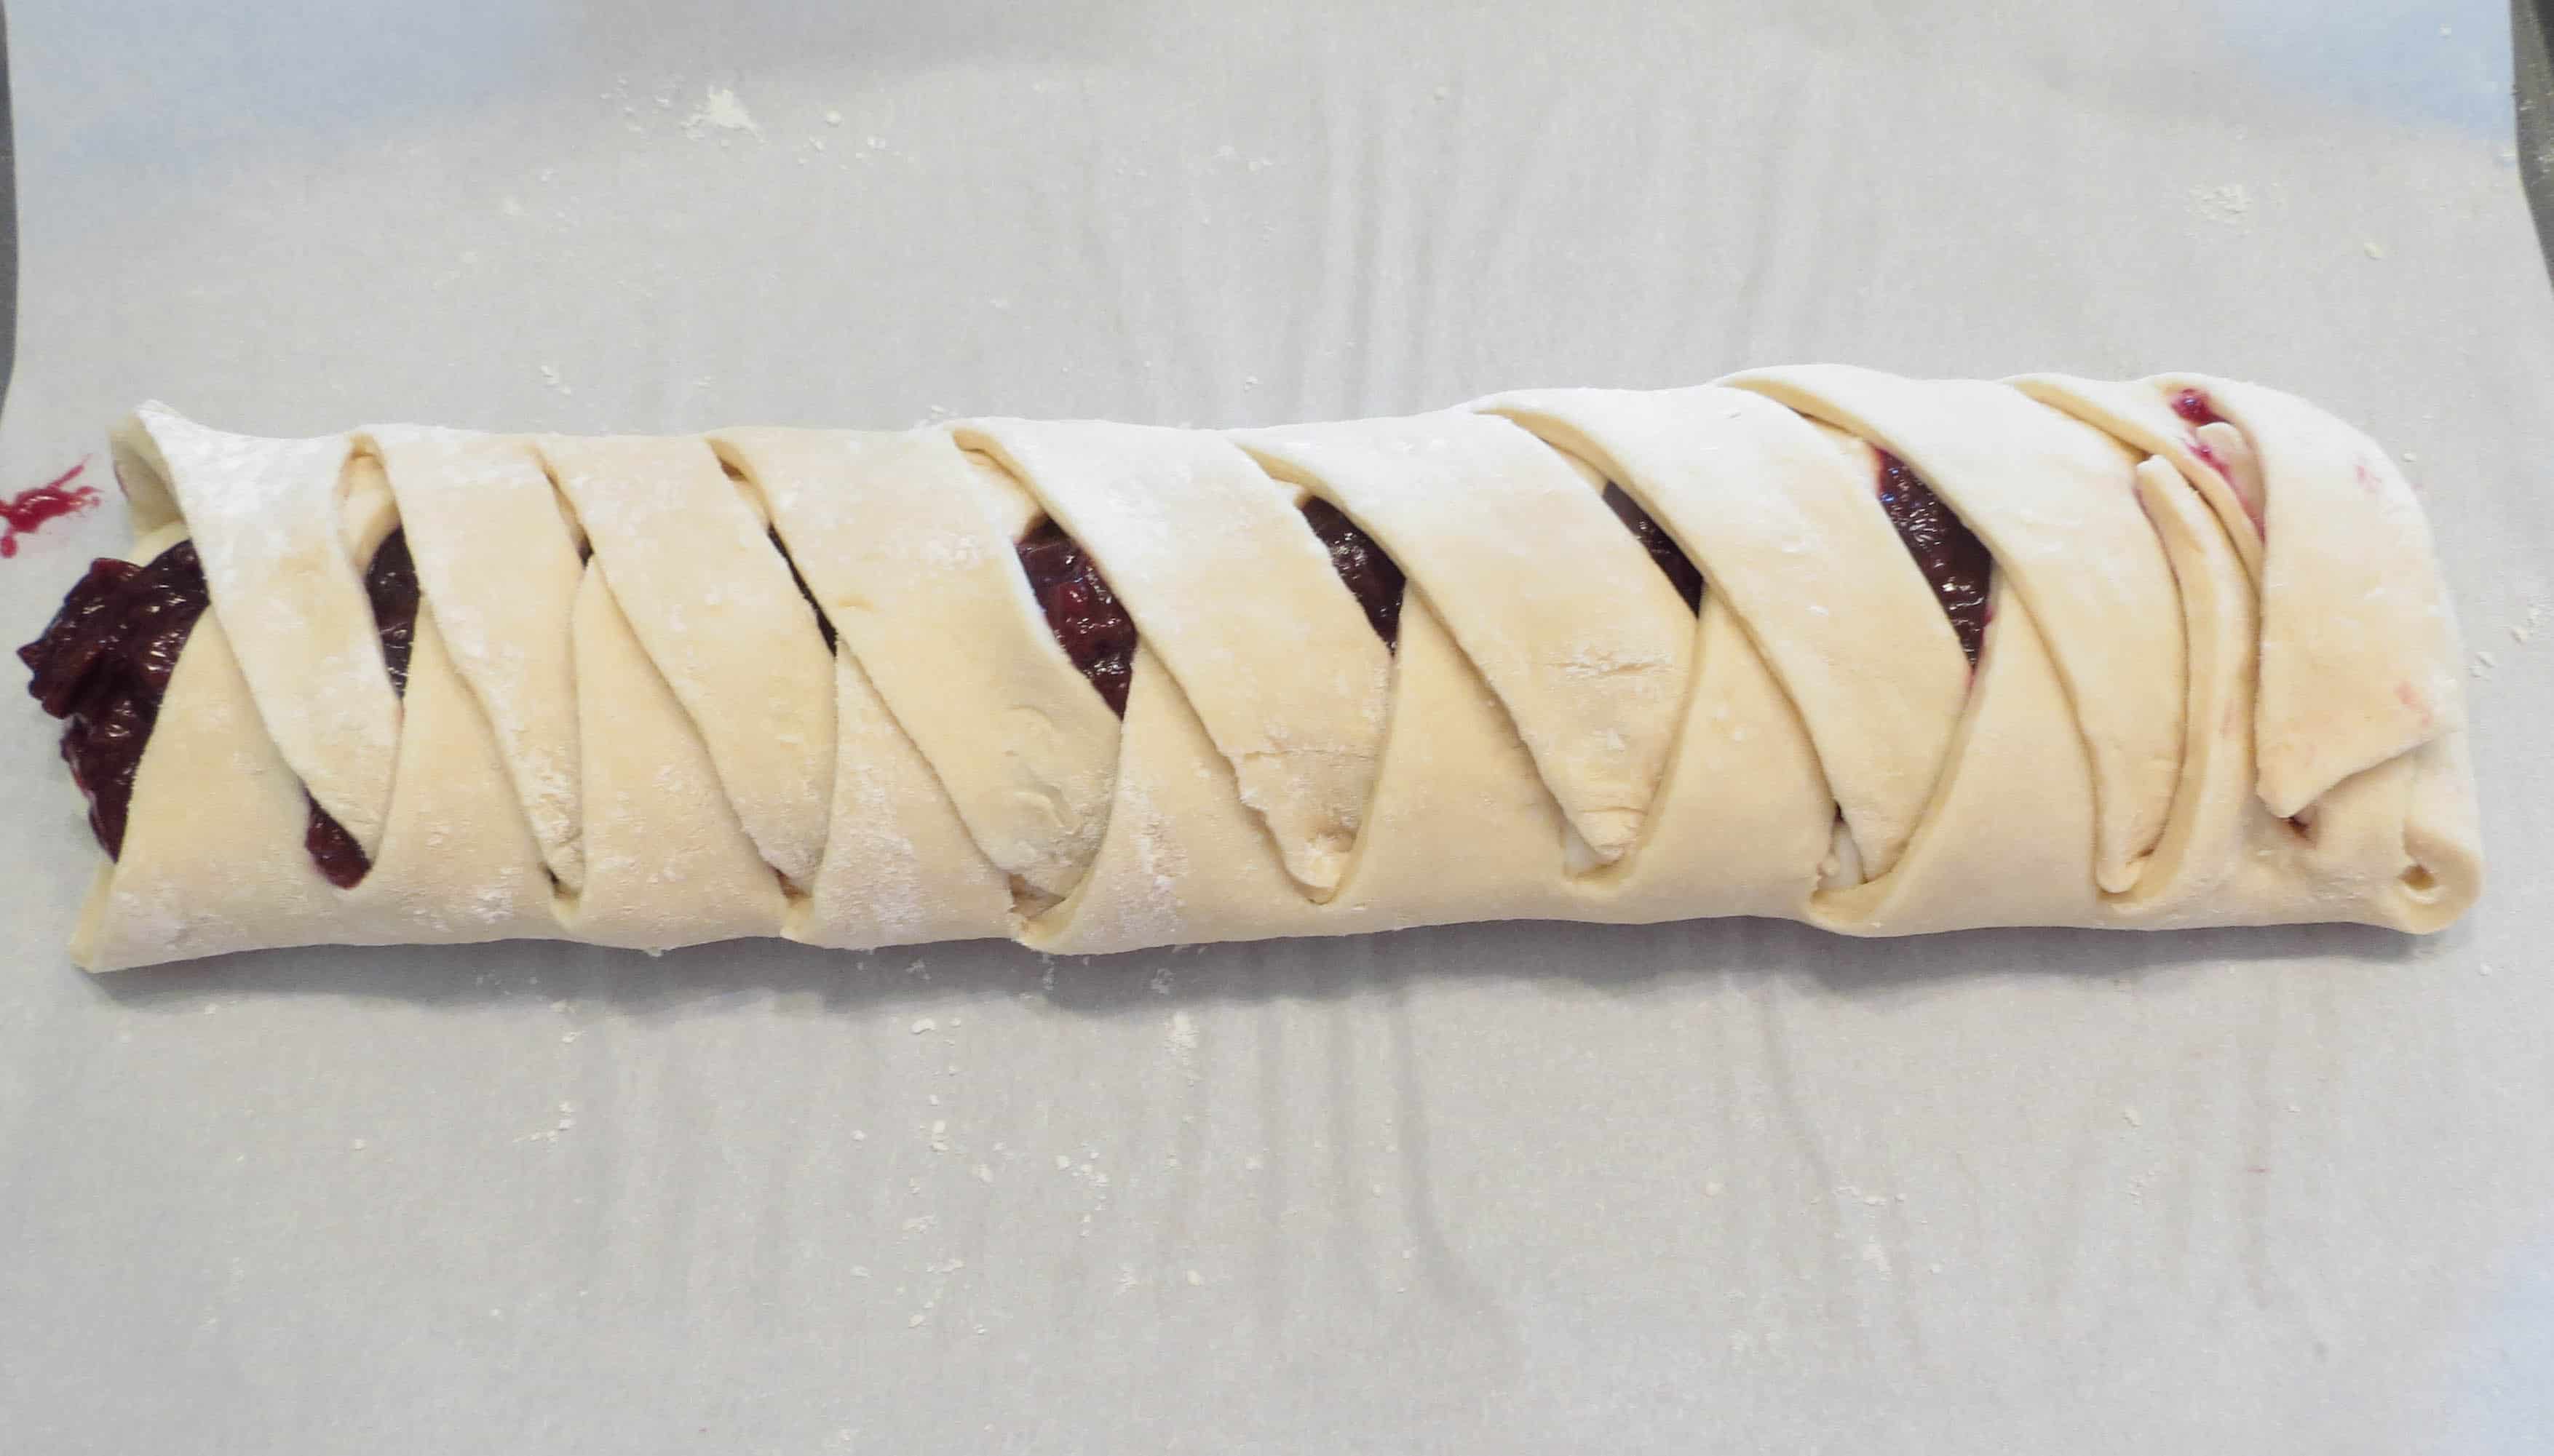
Once you get your cream cheese mixture together, get the dough rolled out and cut, spread some cream cheese mixture over the middle then a layer of the cherry preserves on top.
Spread both fillings down the center of the dough.
Start overlapping each side until you get to the bottom. Flip the bottom "flap" up and then cross the last two pieces over that.
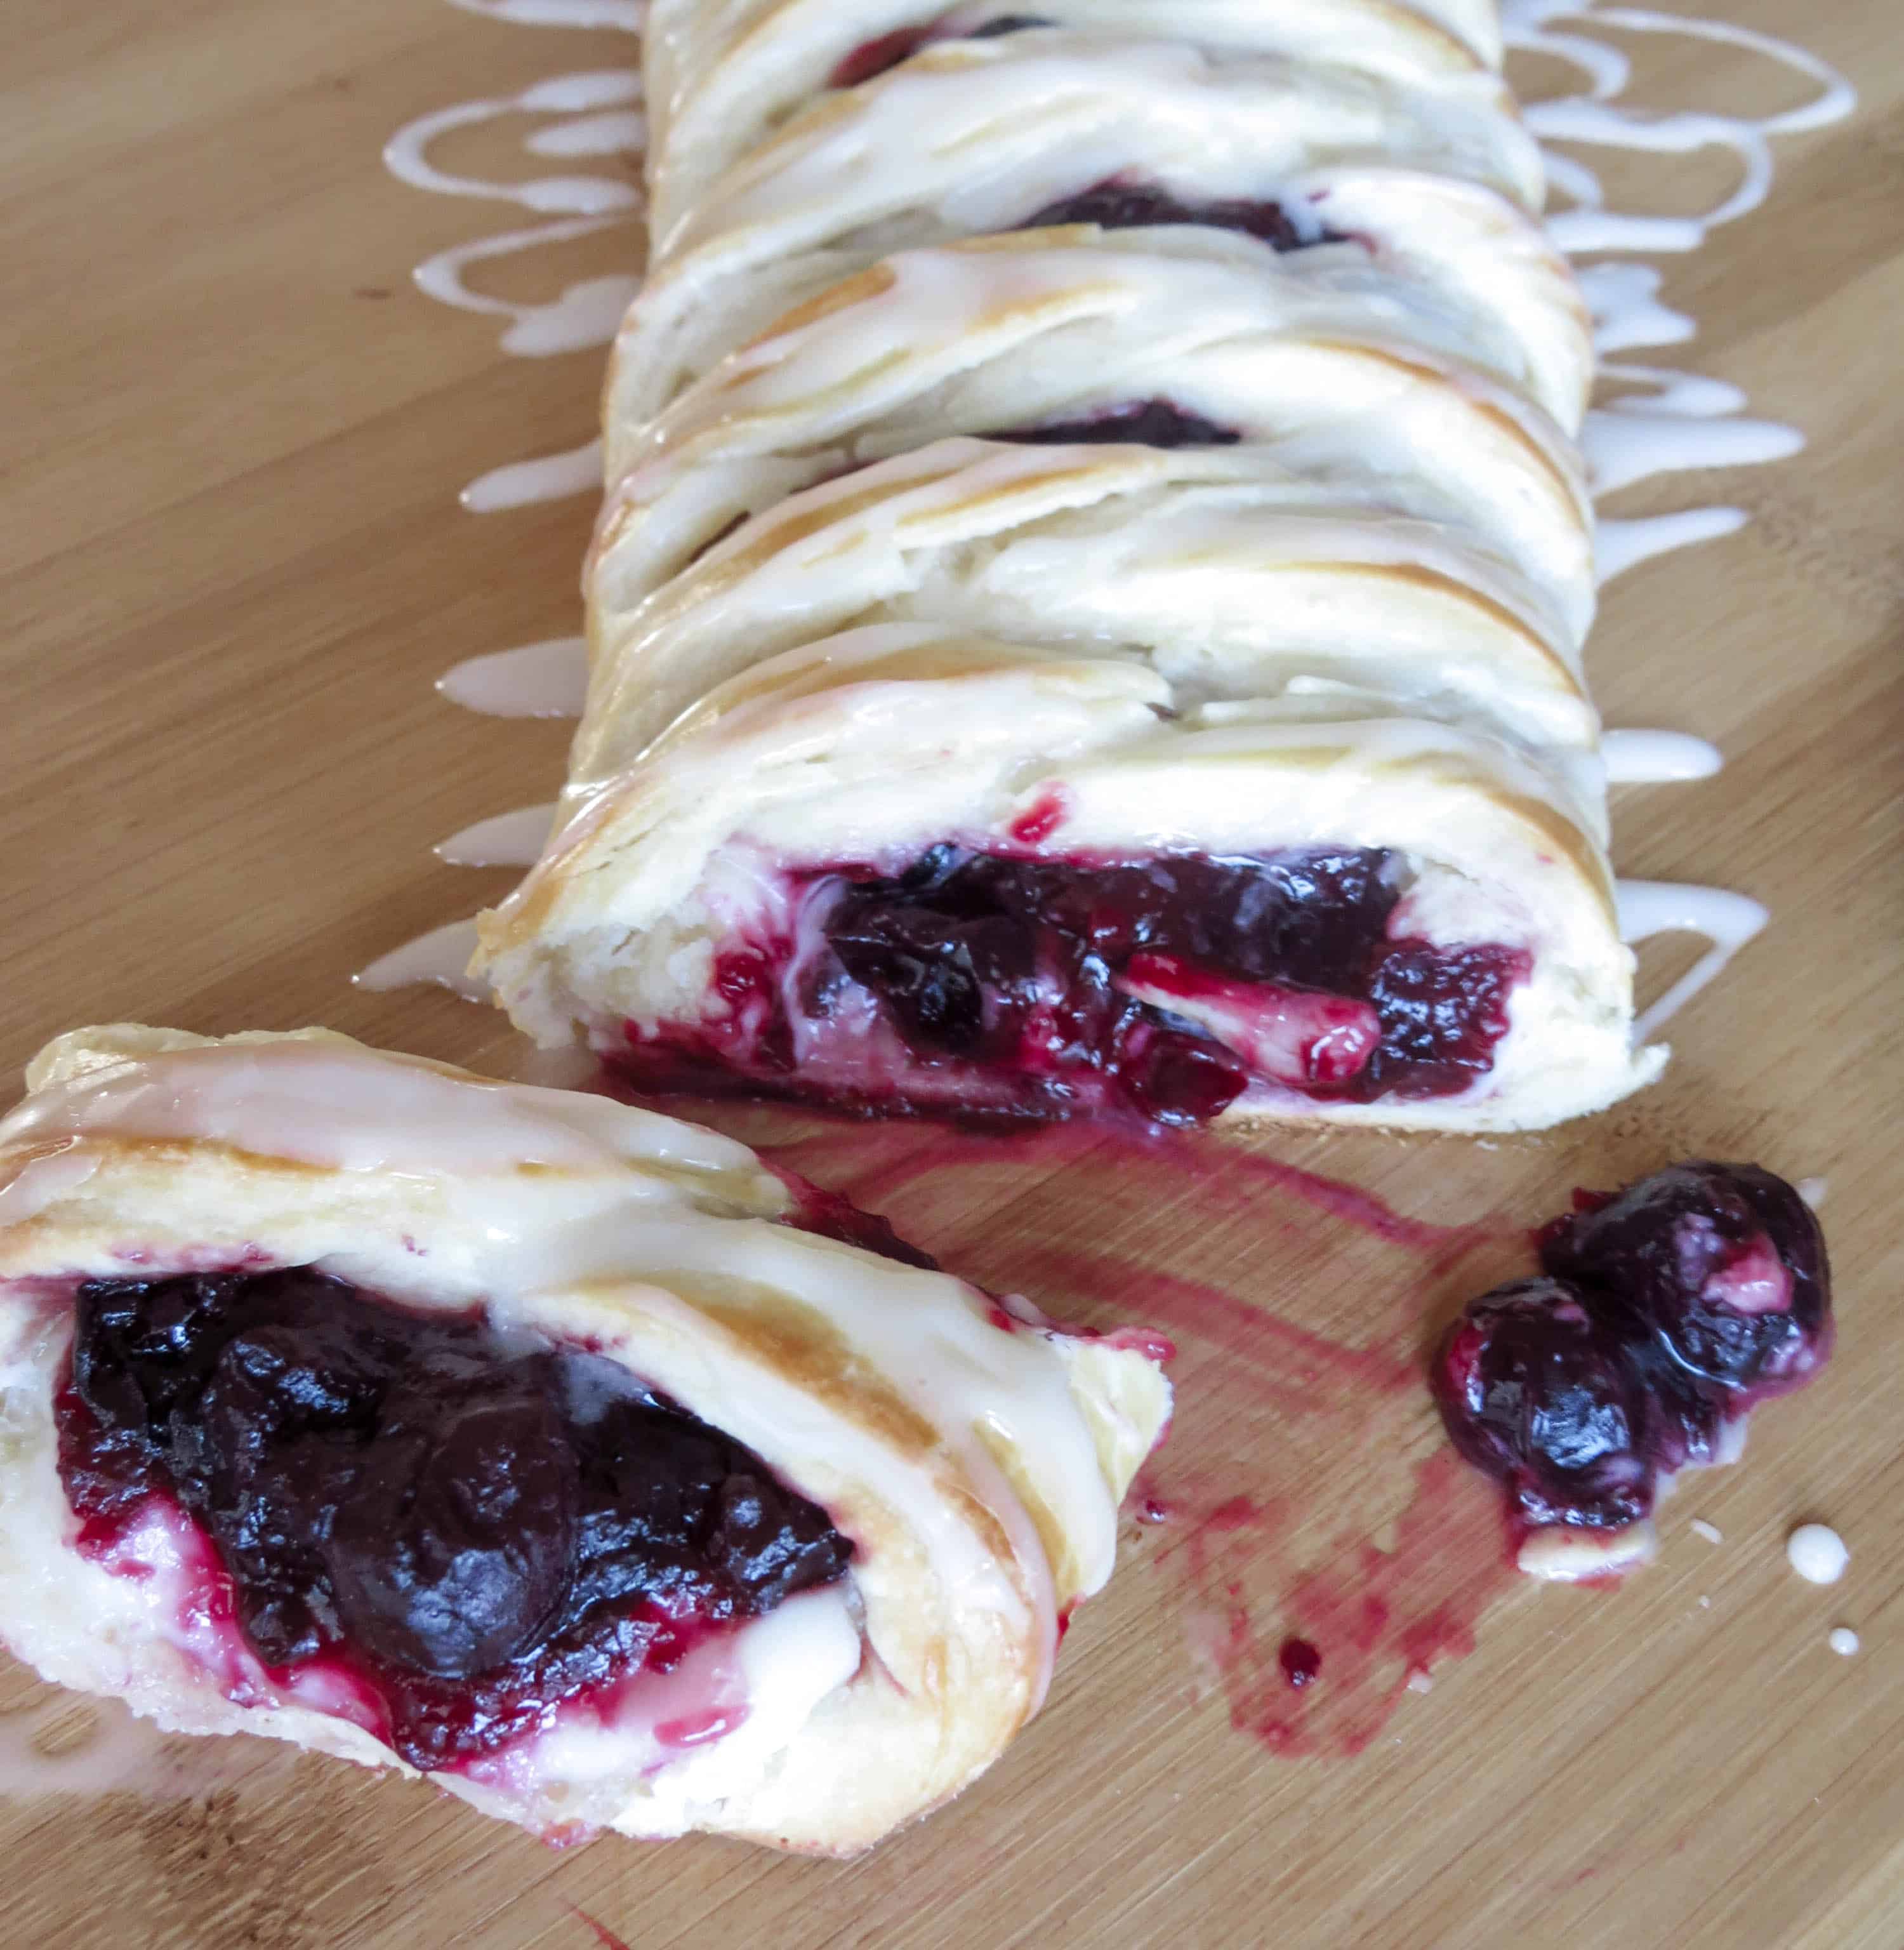
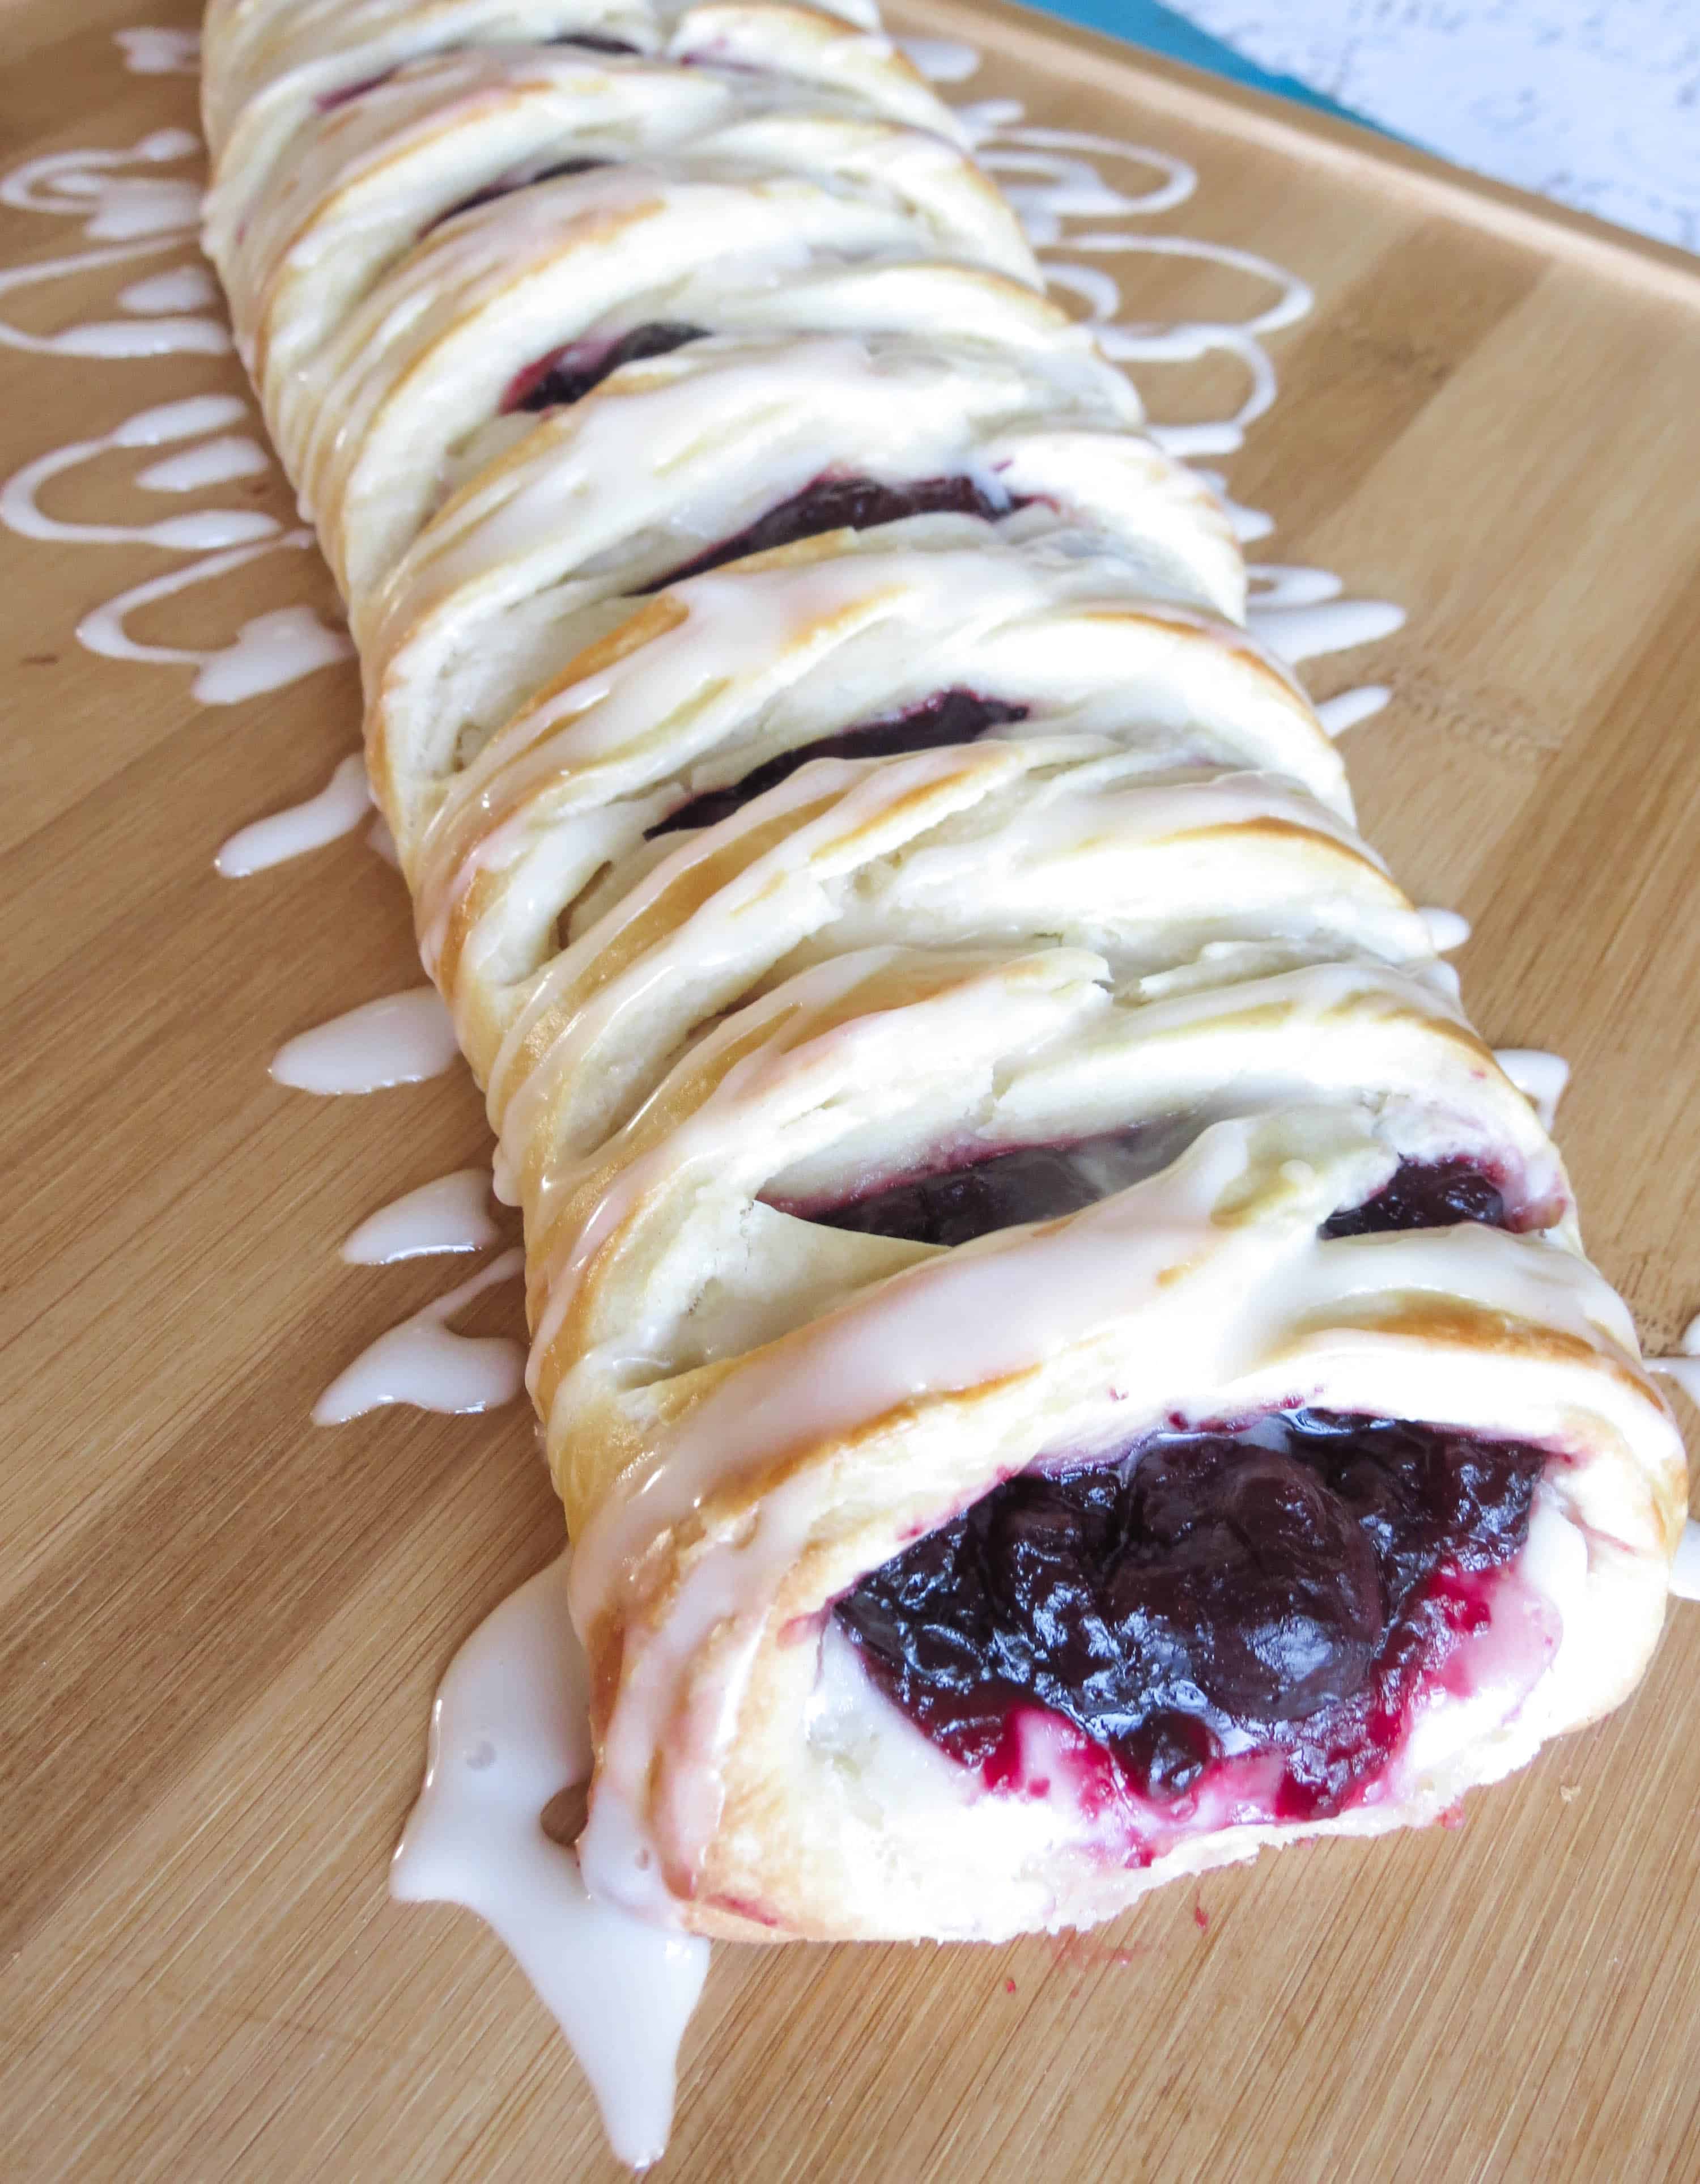
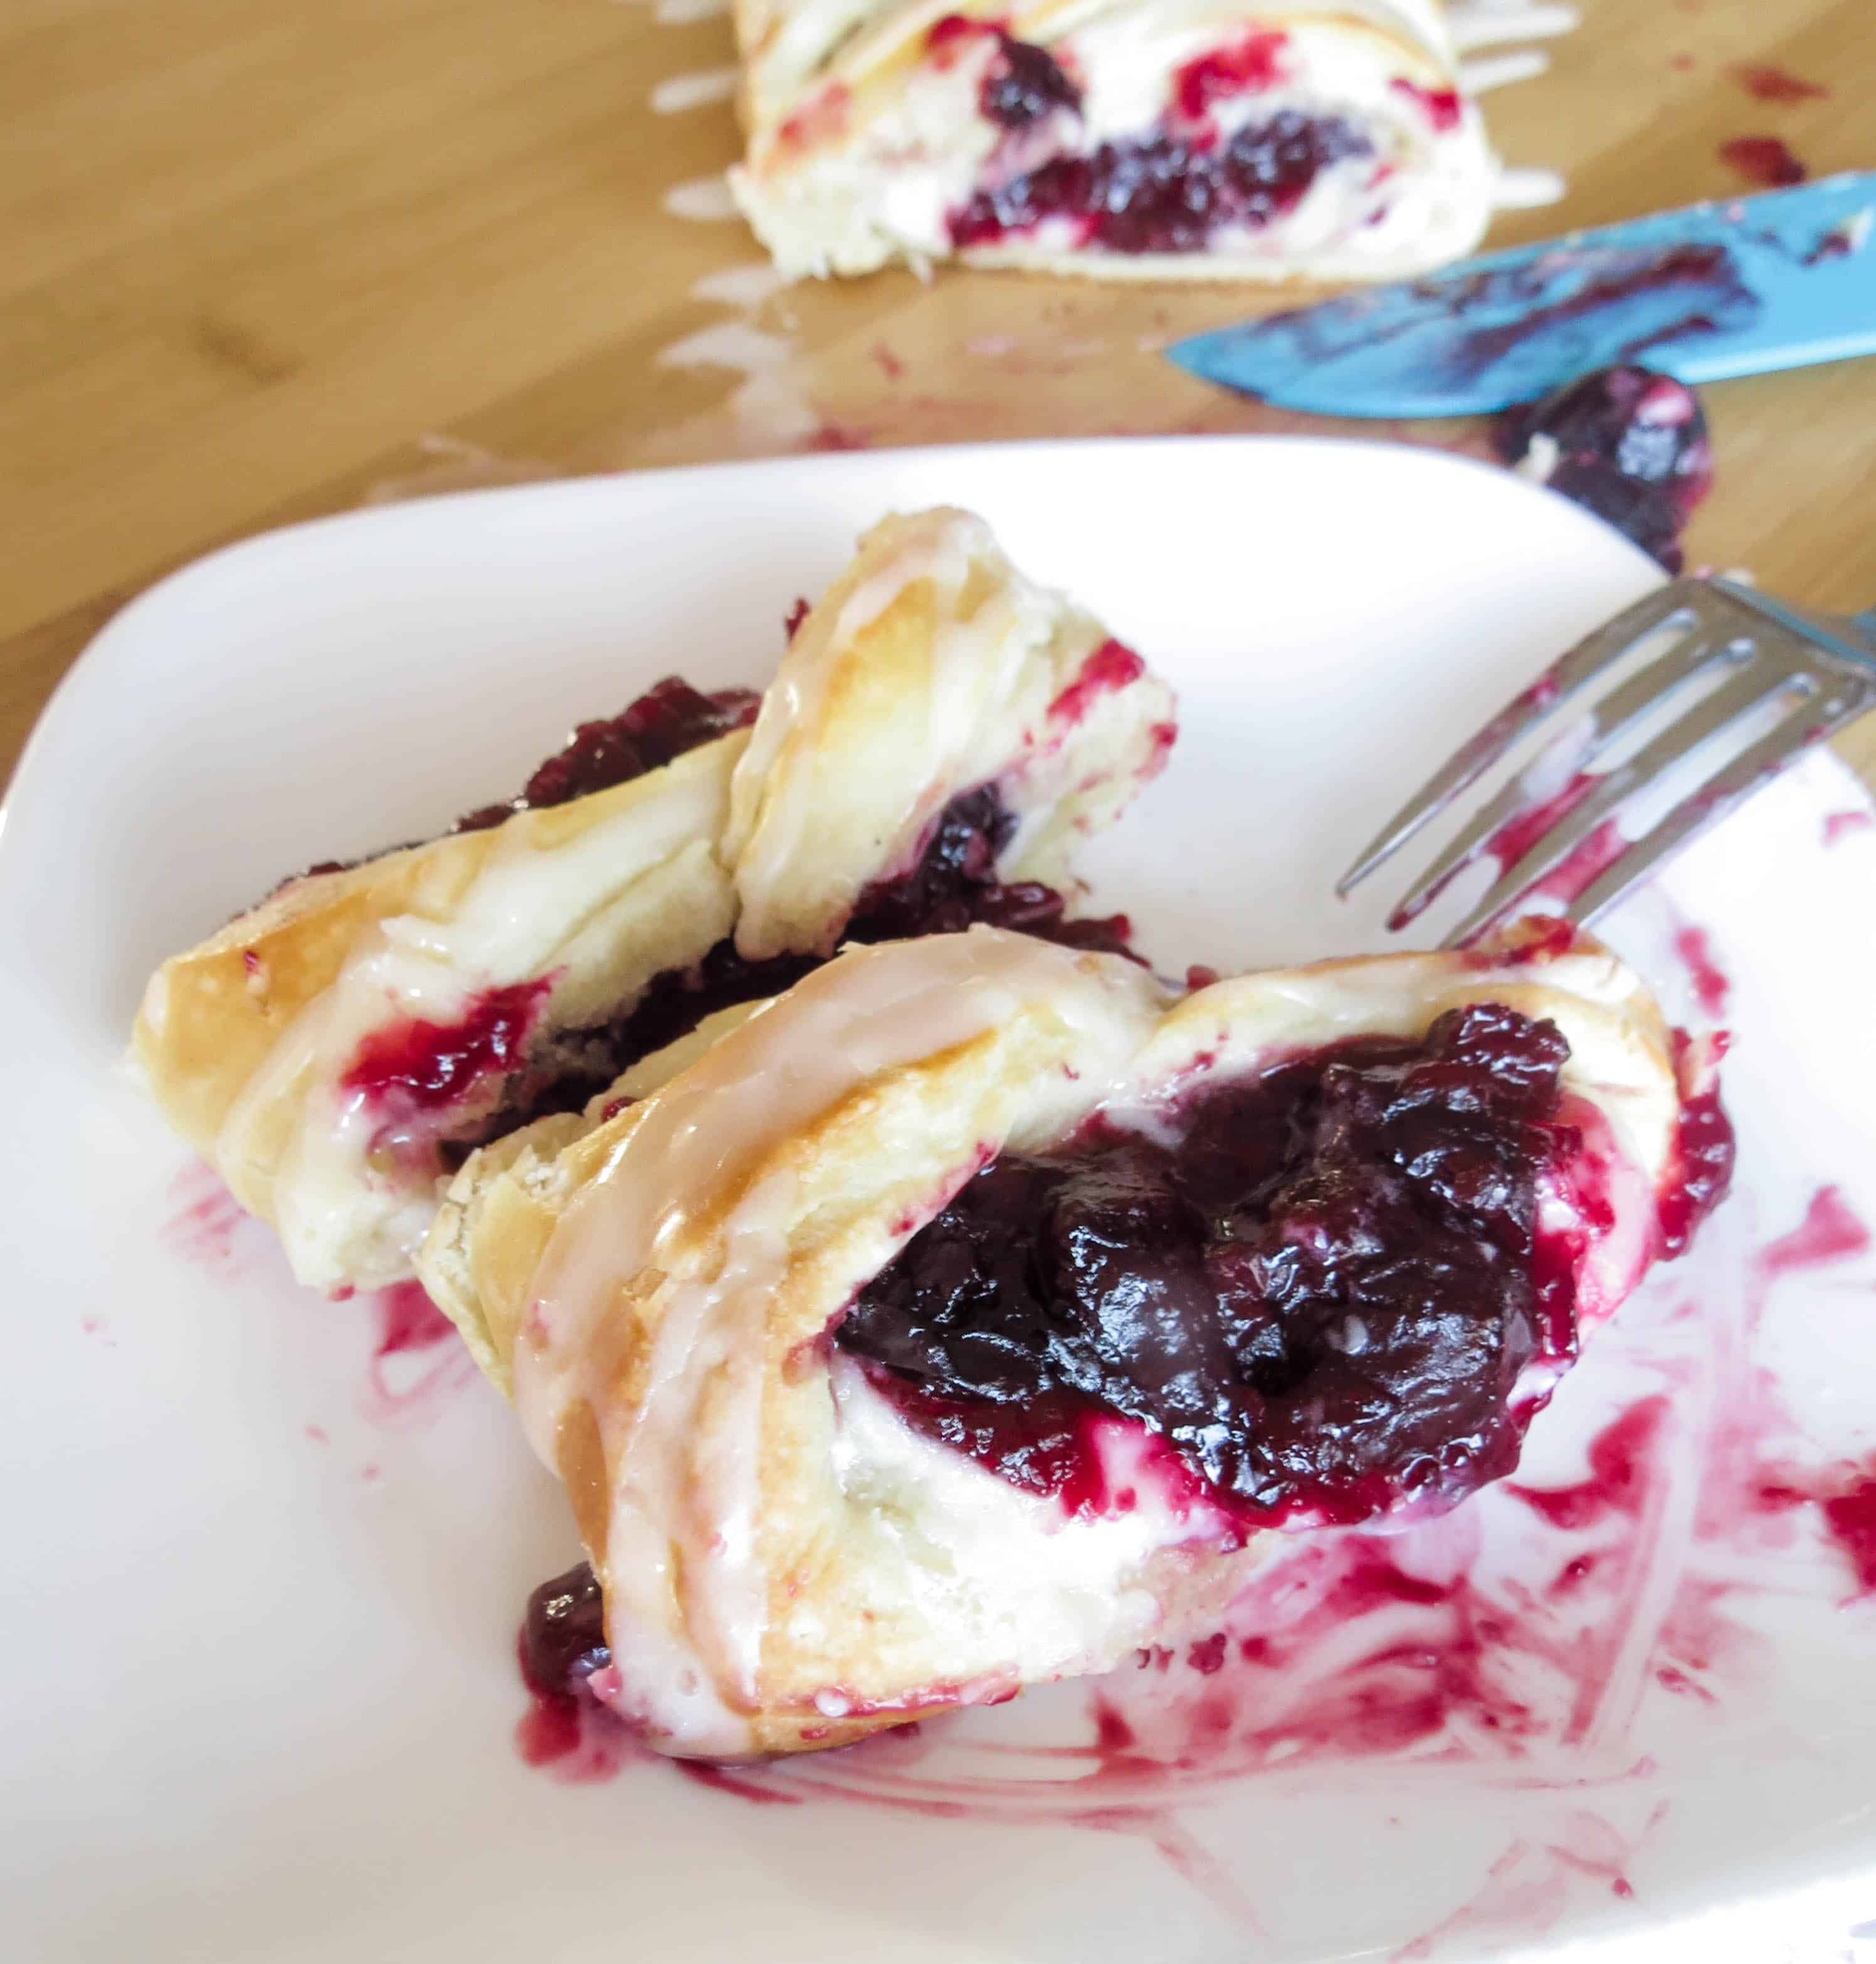
Now, you're ready to bake! Brush with egg wash and bake until it starts to turn golden, rotating pan halfway through. Once it's done, let it cool a bit, drizzle on some vanilla glaze and slice it up!
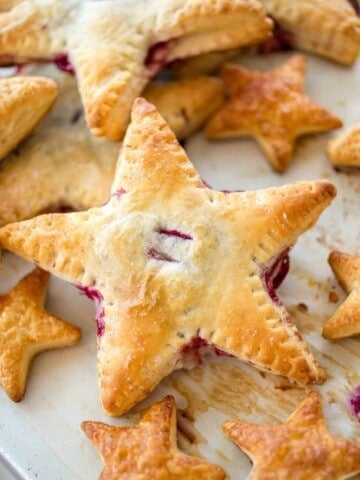
More recipes you'll love
Did you make this recipe?
Please leave a ⭐️ review below and tag @sprinkle_some_sugar on Instagram!
📋 Recipe
Cherry Cheese Danish
Ingredients
Pastry Dough
- ¼ cup warm water, 105-115°F
- 2 ¼ teaspoon active dry yeast, 1 standard package
- ½ cup whole milk
- 1 large egg, room temperature
- ¼ cup granulated sugar
- 1 teaspoon salt
- 2 and ½ cups all-purpose flour
- 1 cup unsalted butter, cold
Cherry Preserves
- 2 ½ cups cherries, frozen (not thawed)
- 3 tbs granulated sugar
- 5-6 teaspoon corn starch
- 3-4 tbs water, cold
Sweet Cream Cheese Filling
- 4 oz cream cheese, softened
- 3 tbs granulated sugar
- ¼ vanilla extract
- 1 teaspoon sour cream
- ¼ cup powdered sugar
- ½ tbs unsalted butter, softened
Egg Wash
- 1 large egg
- 2 tbs whole milk
Vanilla Glaze
- ½ cup powdered sugar
- ½ teaspoon vanilla extract
- 1 tbs whole milk
Instructions
- How to make the pastry dough
- Pour warm water into a large bowl and sprinkle yeast in top. Stir gently and allow to sit for about 3 minutes until a foamy thick layer appears to ensure your yeast is alive.
- Mix together the milk, sugar, egg and salt and set aside.
- Place flour into a large bowl and cut in butter until mixture is crumbly. Add the flour mixture to the egg mixture and VERY gently fold these together. Fold the two mixtures just until the dry ingredients are just moistened enough to form a large dough ball.
- Wrap the dough tightly in plastic wrap and refrigerate for at least 2 hours.
- Take the dough out and start the rolling and folding. The dough will be very sticky so make sure your surface is floured liberally.
- Gently flatten the dough with the palm of your hands into a small square, this will help it stay in a more rectangular shape, rather than round.
- Roll out the dough with your rolling pin into a 15in long rectangle. Make sure your dough is not sticking to the counter and add some more flour if needed.
- Fold down twice, like a business latter and then roll out into large rectangle. Do this process one more time.
- Fold dough into a square and wrap tightly in plastic wrap. Set in refrigerator for 15-30 minutes minimum and maximum, up to one day.
- Take dough out of the refrigerator and cut it in half. If you are only making one braid, wrap up the second half and put it in the freezer to use another day.
- Roll out your dough onto a parchment lined baking sheet to make about a 12x6in rectangle. It will be very difficult to transfer the soft filled braid from the counter to baking sheet.
- Cut off two corners of the dough on top and then two small triangles at the other end.
- For the cherry preserves
- While dough is chilling, prepare fillings. In a small saucepan, heat frozen cherries and sugar on low-medium heat. Let the. cook down a bit and start to soften and juices start flowing out, about 5 minutes.
- Mix together the cornstarch and water and add to cherry mixture. Raise the temperature a bit to a GENTLE boil. Be careful not to scorch the bottom, stir frequently for about 2-3 minutes.
- Once cherries are thickened, remove from heat and cool completely.
- For the Cream Cheese Filling
- Cream together the cream cheese, sour cream and butter until smooth.
- Add in the granulated sugar, vanilla and powdered sugar. Mix everything until completely smooth.
- Spread a layer of the cream cheese filling down the middle of prepared dough.
- Add ½ of the cooled blackberry preserves for each one.
- Start cutting slanted strips along each side of the filling. A pizza cutter works best for this or a very sharp knife. Start overlapping the strips, going from side to side - "braiding". When you get to the bottom, leave the last two strips and fold the end up to seal the filling in, overlap the last two strips on top.
- Beat your egg wash ingredients together and brush over top of the entire braid.
Time to bake
- Preheat oven to 375°F and bake for 15-20 minutes or until golden.
- Once braid is out of oven, allow to cool for at least 10 minutes. In the meantime, make your glaze.
For the vanilla glaze
- Whisk powdered sugar, vanilla and cream into a small bowl until smooth. Drizzle on top before serving.
- 2. Pour into a decorating bottle for drizzling.
- 3. Once braid is completely cool, drizzle with glaze and enjoy!
The provided nutritional information is an estimate per serving. Accuracy is not guaranteed.

Kelly says
Just got done making my first. OMG slap my grandma and call me ugly, thats soooo flippin good! I'm not a huge fan of cherry so I did blackberry, WOW! The wife doesn't like pastries and she demolished hers. Going to substitute strawberry on the second half of the dough. Thanks for the recipe, well worth the time.
Jessica says
Haha!! This is the best comment yet. So happy you enjoyed it so much!! 🙂
Lisa says
I am new at this, very new! When do you add the yeast mixture?
Jessica says
Along with the warm water.
Cd Klotz says
You didn't really answer her question. Is it in step 4 when egg mixture is added?