These Soft Caramels are super soft and chewy with that melt-in-your-mouth rich, buttery taste that you get from a candy store made in your own home!
What is better than a fresh piece of homemade caramel candy? Um.. Pretty much nothing. For as long as I can remember up until recently, the thought of making soft caramel candies scared the crap out of me. You too? Well, I'm here today to tell you guys that there's nothing to be afraid of! As long as you have a candy thermometer, you will be fine! This candy recipe makes those super soft and chewy caramels that just melt in your mouth without sticking to your teeth. They are so smooth and creamy just like the ones you'd find at a candy store!
To prepare the caramels, like I said, it isn't hard but there are some things to take note of. For one, you absolutely need a candy thermometer because it needs to reach exact temperatures. Be sure to use a heavy-bottomed saucepan to make sure the caramel won't scorch from reaching such high temperatures. Also, a wooden spoon is ideal because they don't conduct as much heat as metal spoons which would disturb the crystallization process! The humidity outside can play a big factor in issues with the setting up process so be sure the air conditioning is turned up while the candies are setting up before cutting. Now that we have my tips and tricks out of the way, let's get onto the candy making process.
Oh, and another thing. The butter used in this recipe, provided by my friends at Land O' Lakes, gives these caramels such an incredible rich and buttery taste. The new Land O' Lakes European Style Butter is far superior than any other butter because of it's 82% fat content and the fact that it's churned with sweet cream. Holy yumminess. Using this butter is totally not necessary, but I think it really makes a difference!

You'll melt all of the ingredients together (leaving out 1 cup of cream and the vanilla) and allow it to boil and come to 240 degrees, stirring every so often so it doesn't scorch the bottom. Once it reaches temperature, you'll add the second cup of cream, stir gently and have it come up to 245 degrees this time. If you like a firmer caramel, you can go up to 250 degrees. You'll remove the caramel from the heat and stir in the vanilla. And there you go guys! You made soft caramels! Just pour into a parchment lined pan and allow them to set completely. Pretty easy, right? If for any reason your caramel does not set up due to a faulty thermometer, humidity in the air or what not - this happened to me the first time I made this recipe before getting a new thermometer - you can dump the caramel back into a large pot, melt it down completely again and have it come back up to 245 degrees and it will come out perfect.
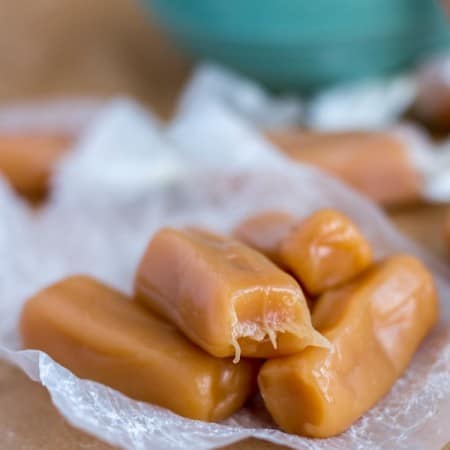
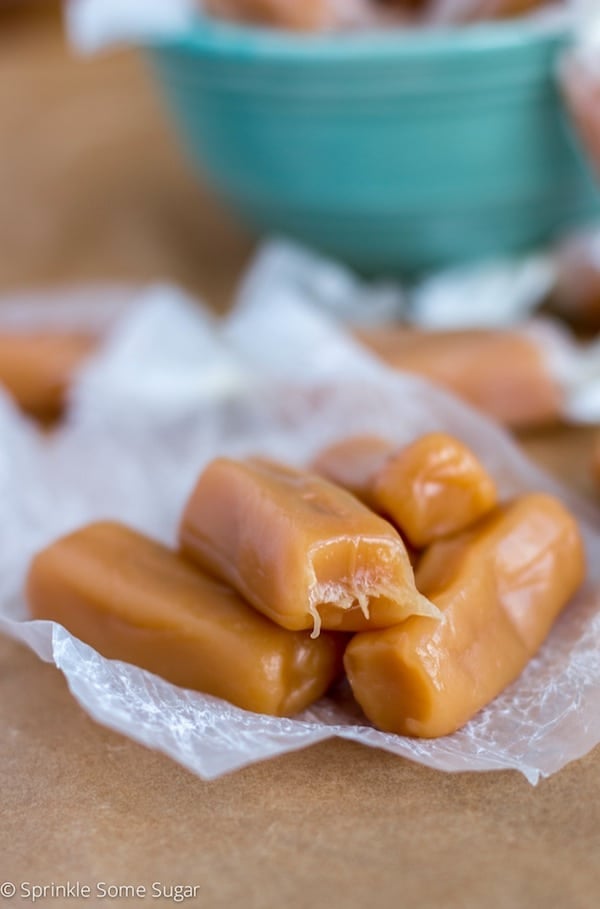
When I cut my candies, I like to cut them into strips and wrap them each individually in wax paper. These are perfect for gifting! I had way too many of these to actually have them all be eaten in our house so I made a delivery to my mom's work who is a caramel candy fanatic and she looooooved them. These would make such a nice gift all tucked into a cute little box! Think: Christmas?
I hope you try these soft caramels out and love them as much as we do!
📋 Recipe
Soft Caramels
Ingredients
- ¾ cup LAND O LAKES® European Style Super Premium Unsalted Butter
- 2 cups granulated sugar
- ¼ teaspoon salt
- 1 cup light corn syrup
- 2 cups heavy cream, divided
- 2 teaspoon vanilla extract
Instructions
- Line a 9x9 pan with parchment paper, lightly grease and set aside.
- In a large saucepan, add butter and allow to melt completely on low heat. Stir in sugar, salt, corn syrup and ONE cup of heavy cream until combined. Clip your candy thermometer on the side of the pan. Turn the heat up to medium and allow to boil gently, stirring frequently so the bottom doesn't scorch. Boil until the temperature reaches 240 degrees - at this point it should start to change color - then stir in the second cup of heavy cream. Allow the temperature to come back up but this time, to 245 degrees or "firm ball stage." Caramel should be slightly thickened. Remove from heat and stir in vanilla.
- Pour caramel immediately into prepared pan. Try to refrain from scraping the sides or bottom of the saucepan because there may be some discoloration and you don't want little burnt flakes in your caramels.
- Allow caramels to cool completely, up to three hours. At this point you can cut the candies into any shape you'd like and wrap them in wax paper so they stay fresh.
- Soft caramels will stay fresh for up to 2 weeks wrapped in wax paper and sealed tightly in a ziploc bag.
The provided nutritional information is an estimate per serving. Accuracy is not guaranteed.
[pinterest]


Jane says
Can you freeze these?
Jessica says
I haven't tried so I am unsure.
Bernice Conrad says
I didn't spray the wax paper before pouring the candy into it. Now it is stuck to the wax paper. Do you have any ideas on how I can get it separated from the wax paper so I can wrap it individually?
Saloni says
Hi Jessica. I love soft caramels. They are an absolute house favourite. Just a doubt. When you mentioned temperature, is it in C or F?
Jessica says
Fahrenheit! Sorry for the confusion.
Mariah @ Mariah's Pleasing Plates says
Love all your great tips! Especially since I have burned caramels a time or two 😉
Jessica says
Oh, me too! I finally mastered it! Lol. Thanks, Mariah!