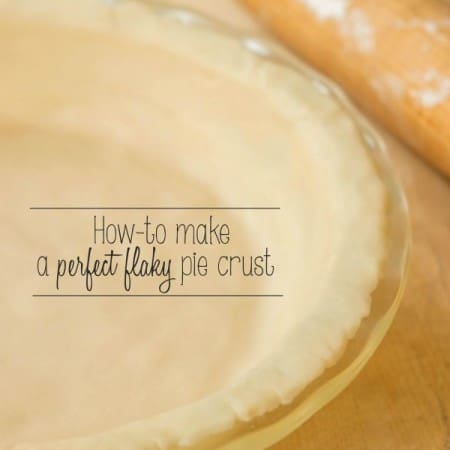
This Perfect Flaky All Butter Pie Crust recipe is my go-to! I’ve included step-by-step photos and detailed instructions, so you can easily follow the recipe and instructions. With these tips, you'll whip up a flaky crust that’s perfect for any pie. It’s easier than you think, and trust me, homemade pie crust is worth the effort!
Is there any other baked dessert that says "made with love" like a homemade pie? Today I'm going to teach you how to make a homemade all butter pie crust along with my go-to recipe for no-fail crusts every time! Making a pie crust from scratch can be tricky, but if you follow my easy-to-follow instructions and recipe tips, you'll be a pie crust making pro in no time!
Before I begin, I do have to say that there is totally nothing wrong with using a store-bought pie crust, I use them all the time! But to me, if you're willing to make the effort, nothing compares to a crust made from scratch. The taste, the texture, everything is much better - at least in my humble opinion. This pie crust recipe is my absolute favorite and I use it for all of my pies.
Some people use all shortening, some a mixture of butter & shortening, but I like to use all butter. I love the flavor butter gives the dough and you will still get a perfectly flaky crust every single time without having to use shortening. That stuff sort of freaks me out so I tend to try to stay away from it when I can, but I do use it occasionally.
Jump to:
Ingredient Notes
This basic pie crust recipe uses very basic ingredients - flour, salt, fat - in this case, butter - and cold water.
- Butter: I like to use unsalted butter in my pie crust recipe. It needs to be very cold. If you'd like to use salted butter, just omit the salt in the recipe.
- Water: Make sure your water is as cold as can be!
Jessica's Recipe Tips
- To ensure your pie crust comes out successfully, your butter and water need to be VERY cold. I leave my butter in the refrigerator right up until I am ready to use it to ensure it stays completely cold.
- For the water, I like to fill up a measuring cup with water + ice and use my measuring spoon to scoop out the water when I need it, this way I know that my water is truly ICE cold!
How to make homemade pie crust
This recipe creates enough for a double pie crust. If you only need one, feel free to just cut the recipe right in half.
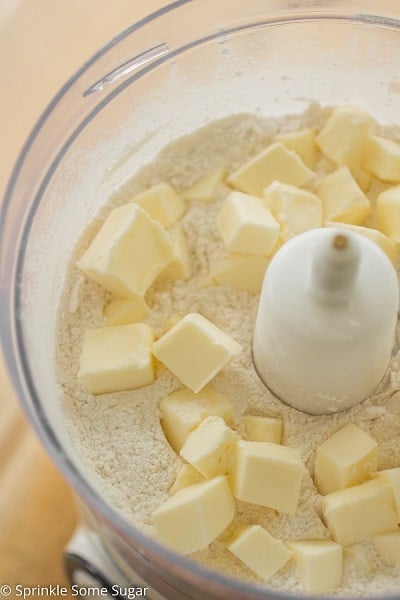
Step 1: Add flour and salt to a food processor and pulse a few times to combine. Add COLD cubed butter.

Step 2: Pulse until fine crumbs form - you still want to see little pieces of butter.
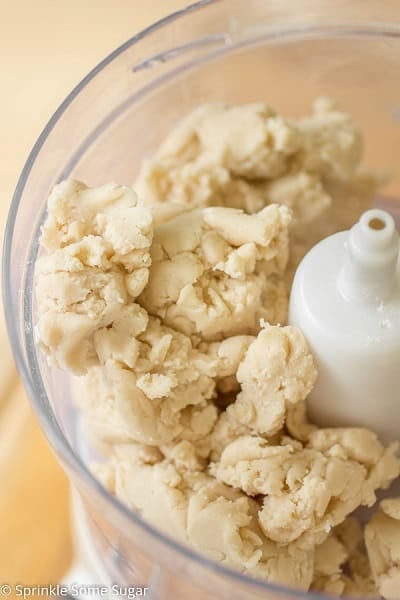
Step 3: Add 1 tbs of water at a time and pulse until a dough-like consistency forms. You do not want your dough to be wet, so only add as much water as you need to form a dough. Pat dough into a ball-shape and cut in half.
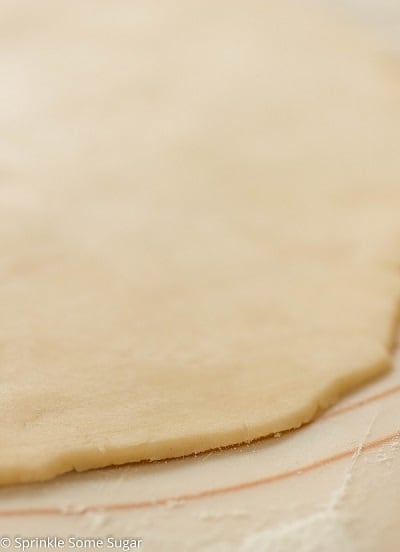
Step 4: Roll the first half of dough out into a 10" circle on a lightly floured surface. Roll your dough out 1" more than your size pie dish to ensure there's going to be enough to go up the sides.
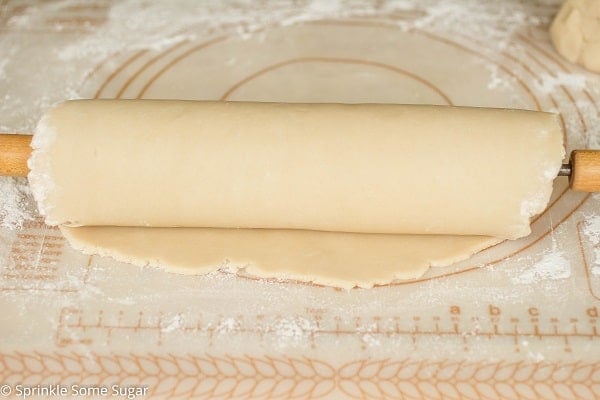
Step 5: Roll dough up with the help of your rolling pin for an easy transfer.
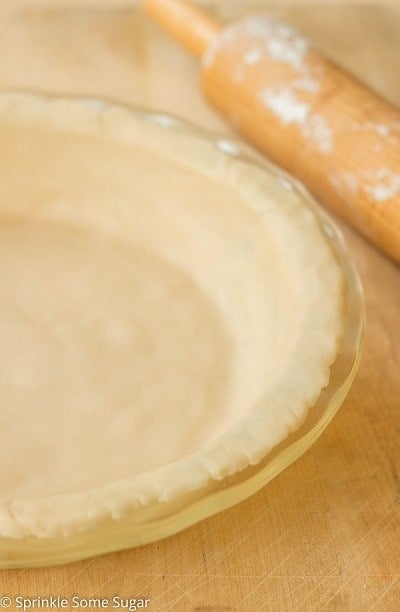
Step 6: Lift the dough over the greased pie plate and unroll the rolling pin on top. Gently press and smooth the crust down and up the sides until it fits snug in the dish. Place it in the fridge and allow to chill for at least 30 minutes.
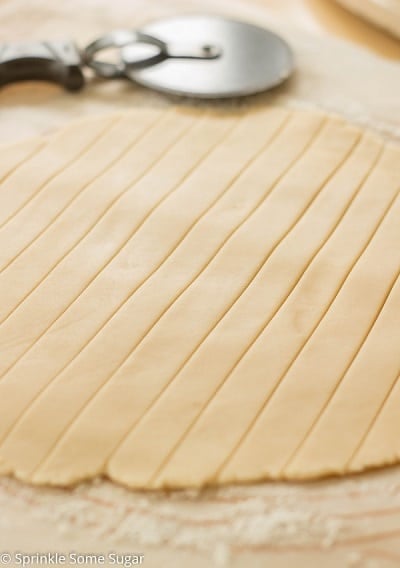
Step 7: Roll out second half of dough on a lightly floured surface into a 10" circle (or 1" greater than the size of your pie dish). Place dough in the refrigerator and chill it for at least 30 minutes and then slice into strips if you are using a lattice crust. Make filling while crust is chilling.
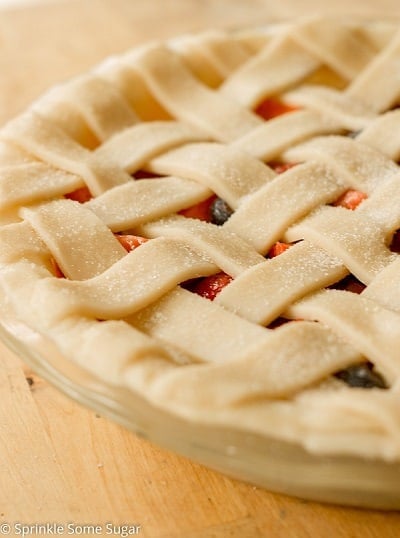
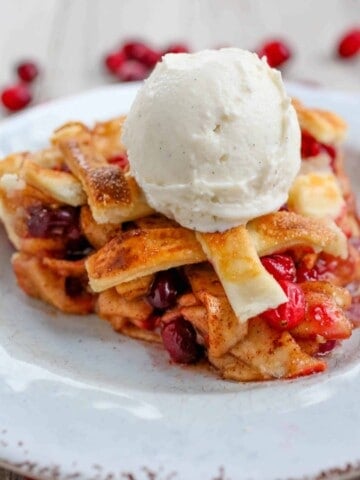
Step 8: Fill chilled bottom crust with pie filling of choice. Pictured here is my Very Berry Pie. Place top crust on top and brush with egg wash before baking.
More recipes you'll love


Did you make this recipe?
Please leave a ⭐️ review below and tag @sprinkle_some_sugar on Instagram!
📋 Recipe
Perfect Flaky All Butter Pie Crust
Ingredients
- 1 cup salted butter, cold & cubed*
- 2 ½ cups all-purpose flour
- ½ teaspoon salt
- 3-4 tbs ice water
Egg wash
Instructions
- Add flour and salt to a food processor and pulse to combine. Add cold cubed butter and pulse until fine crumbs form - you still want to see little pieces of butter. Add 1 tbs of water at a time and pulse slowly until a dough-like consistency forms. You do not want your dough to feel wet so only add as much water as you need for the dough to come together.
- Pat dough into a ball-shape and cut in half. Set the other half to the side and work on first half. Roll the first half of dough out into a 10" circle on a lightly floured surface.
- Grease your pie plate. Roll dough up with the help of your rolling pin for an easy transfer. Lift the dough over the pie plate and unroll the rolling pin on top. Gently press and smooth the crust down and up the sides until it fits snug in the dish. Chill dough for at least 30 minutes.
- Roll out the second crust on a lightly floured piece of parchment paper into a circe 1" greater than the size of your pie dish, about 10". Refrigerate for 30 minutes.
Preheat oven to 400°F.
- Fill the crust with pie filling of choice and set it to the side.
- Take out second pie crust and you can either 1. lay it on top of the bottom crust, crimp the edges to meet the bottom one and poke some vent holes in the middle. Or 2. Make a lattice crust by cutting the cough into strips with a pizza cutter or sharp knife about 1" wide or to your desired thickness. Arrange the strips in a lattice pattern, one over the other until the pie is covered. You may have a couple of extra strips.
- Before I bake my pie, I usually brush it with a little egg/milk mixture and sprinkle some sugar on top for a little extra sweetness + crunch. Also before putting it in the oven, you will want to cover the edges with a pie shield to prevent over-browning since the crust is always the first to start browning. If you are like me and don't own a pie shield, you can improvise with a few small pieces of aluminum foil and crimp it around the edges to cover the crust.
Notes
- Refrigerate the dough-filled pie plate for 30 minutes, then transfer it to the freezer for an extra 10 minutes.
- Position the oven rack to the center position and preheat to 400°F.
- Take the pie plate from the freezer and cover the pie crust with two layers of aluminum foil, folding it over to cover the edges completely.
- Fill with pie weights.
- Place the pie plate on a metal baking sheet (to avoid glass shock).
- Bake in the oven for 25 minutes.
- Remove foil and pie weights and prick the bottom of the crust with a fork.
- Return it to the oven and bake for an additional 5 minutes for a light golden crust (partially baked) or 10 minutes for a deep golden crust (fully baked).
Nutrition
The provided nutritional information is an estimate per serving. Accuracy is not guaranteed.

Debra Valdahl says
This is my go to for pie crust! Perfect every time
Carol says
What do you grease the pie plate with?
Mildred says
Well I'Am going to tray to make the pie crust.
Deborah wilson says
I just put this dough in pie plate in fridge now I felt when I cut in half that I did not have quite enough dough to get a nice lattice but we will see how it taste also I’m wondering if I’m making pumpkin can I still add egg wash and sugar
Jessica says
Yes, you can
Cundy says
I would love a lesson on the lattice crust. You mentioned just lay one on top of the other.a step by step would be great!! Thank you.
Jessica says
That's a great idea! In the meantime, here's a really great visual for you. I hope this helps you out! 🙂
diane says
I have a question I dont have a food prosessor to make the pie crust with can I still make it and use a blender instead ?